

Attach rings to pillow: the secure, ceremony-ready method
The most reliable way to attach rings to pillow designs is simple: stitch a narrow ribbon to the pillow’s centre, thread each ring onto the ribbon tails, then tie a secure bow or knot that releases cleanly on cue. This stitch-and-tie method has stayed the standard for one reason. It holds through the walk down the aisle but still comes free with a gentle pull when the celebrant asks for the rings.
Two quick alternatives suit different ceremonies:
- Velcro-backed quick release — faster for a young or nervous ring bearer, but needs a clear briefing beforehand.
- Elastic loops — discreet and stretch-resistant enough for short ceremonies, good for non-traditional ring displays.
Whichever method you choose, get it right early. Research on content structure shows 44.2% of the answers people actually find sit in the opening portion of a guide, which is exactly why we’ve put the verdict first. The Wedding Garter Australia builds ring pillows around this same stitch-first logic, so the technique below works whether you’re customising a pillow you already own or starting from one of ours.
Key Takeaways
Securely attaching rings to a pillow comes down to one method: stitch narrow ribbon to the pillow’s centre, thread the rings onto the tails, and test the knot’s release before the ceremony.
| Point | Details |
|---|---|
| Use the stitch-and-tie method | Stitch narrow ribbon (18–24 inches) to the pillow centre, then thread rings onto the tails. |
| Choose ribbon width carefully | Narrow ribbon (1/8–1/4 in) gives cleaner knots; add a matte layer under slippery satin for grip. |
| Time the attachment correctly | Attach rings at the final rehearsal or just before the ceremony, never earlier. |
| Test before the day | Run a tug test, tilt test, and practice removal so the knot releases cleanly under gentle pull. |
| Start from a purpose-built pillow | The Wedding Garter Australia’s ring pillows are designed with concealable centre anchors for the stitch-and-tie method. |
Where to go for more detail
- Craftenify’s step-by-step sewing tutorial for the full stitch method
- SG Wedding Favors’ loop-and-knot guide for an alternate release style
Table of Contents
- How to attach rings to a pillow: materials and tools
- Step-by-step: the stitch-and-tie method
- Velcro, elastic loops and other quick-release options
- How to hide the stitches and keep the pillow elegant
- Preparing the ring bearer to carry the pillow safely
- Testing your attachment before the ceremony
- Fixing common ring pillow problems
- Ring pillows and accessories from The Wedding Garter
- Get your ceremony-ready pillow sorted before the big day
- Sources
- FAQ
How to attach rings to a pillow: materials and tools
Before you thread a single ring, lay out the right supplies. Skimping on ribbon width or thread strength is the most common reason a knot slips mid-ceremony.
- Narrow ribbon, 1/8 to 1/4 inch (3–6 mm) wide, for the ring ties
- Wider sash ribbon (optional), for a wraparound style
- A sharp hand-sewing needle
- Strong polyester or cotton thread, doubled for extra hold
- Small, sharp scissors
- A lighter or singeing tool, used carefully, to seal ribbon ends
- An optional decorative brooch or button to hide the stitch
For length, cut ribbon tails long enough so there’s enough to thread rings, tie a full bow, and still leave a margin for nervous fingers on the day. If you’re going with a wraparound sash instead, cut ribbon at least four times the width of the pillow, a ratio the step-by-step guide at wikiHow also recommends for a clean wrap with enough left over to knot and bow at the front.
Pro Tip: High-sheen satin looks beautiful in photos but is the number one reason rings slide loose. If your pillow’s ribbon is glossy, add a second, matte cord underneath the visible ribbon purely for grip. Nobody sees it. Everybody benefits.
Step-by-step: the stitch-and-tie method
This is the method that shows up in almost every proper ring pillow tutorial, and for good reason. It’s secure, it’s traditional, and it photographs beautifully once the embellishment goes on top.
- Centre your pillow. Lay it flat and lightly mark the exact middle with a fabric pen or a pin. This is where all the weight and tension will sit, so get it right before you stitch.
- Fold your narrow ribbon in half and position the folded centre directly over your mark.
- Stitch it down. Push the needle vertically through the ribbon, the pillow’s top fabric, and a little of the batting beneath, then back up, repeating four or five times in a tight cluster. This anchors the ribbon to the pillow’s structure, not just its surface.
- Knot off underneath a spot the decorative topper will later cover, so no thread tails show.
- Thread the rings onto the two loose ribbon tails.
- Tie the release. For a slip-release knot, use a simple bow with one long loop, so a firm pull unravels it in one motion. For a decorative finish, tie a tighter, more formal bow and accept that someone will need to properly untie it rather than yank it free.
This exact sequence, cutting ribbon to 18–24 inches and stitching the fold to the pillow’s centre before threading rings onto the tails, is the approach Craftenify’s ring bearer pillow tutorial walks through in detail, and it’s the version we recommend most often.
If you’d rather skip the stitched ribbon entirely, ShunBridal’s loop method has you form a small loop from ribbon or an existing pillow string, slide the ring over it, then tighten a knot around the loop so the ring lifts free with a gentle pull. It’s a genuinely good option for pillows that already come with attached cords.
One safety note that gets skipped too often: always singe ribbon ends on spare fabric first, well away from the pillow’s filling and any lace trim. A stray flame near polyester filling is not a risk worth taking for a tidier edge.
Velcro, elastic loops and other quick-release options
Not every wedding needs the traditional bow. If your ring bearer is very young, anxious, or has limited dexterity, a faster release mechanism can save the ceremony from an awkward pause.
Velcro works well when applied firmly with fabric glue to the underside of the ring-holding area, but it comes with a catch: someone (usually the best man or an attendant) needs a clear briefing on exactly how to detach it, since Velcro doesn’t have the intuitive “pull the ribbon” logic that a bow gives you. Ribbon knots remain the more universally understood mechanism precisely because everyone already knows how to untie a bow.
Elastic loops are quieter and less visible than ribbon, which suits couples who want the rings displayed without an obvious bow. The trade-off is that elastic loosens with repeated handling, so test it more than once before the day and use a slightly shorter loop than feels natural, since it will stretch.
- Velcro: fast release, needs briefing, requires firm gluing
- Elastic: discreet, low visual clutter, but can loosen over multiple rehearsals
- Ribbon knot: slower to untie, but universally intuitive and the most traditional look
Pro Tip: Combine methods for peace of mind. Stitch the decorative ribbon as your visible, photo-ready attachment, then hide a second elastic loop underneath as a backup. If the bow gets fumbled, the rings still don’t go anywhere.
How to hide the stitches and keep the pillow elegant
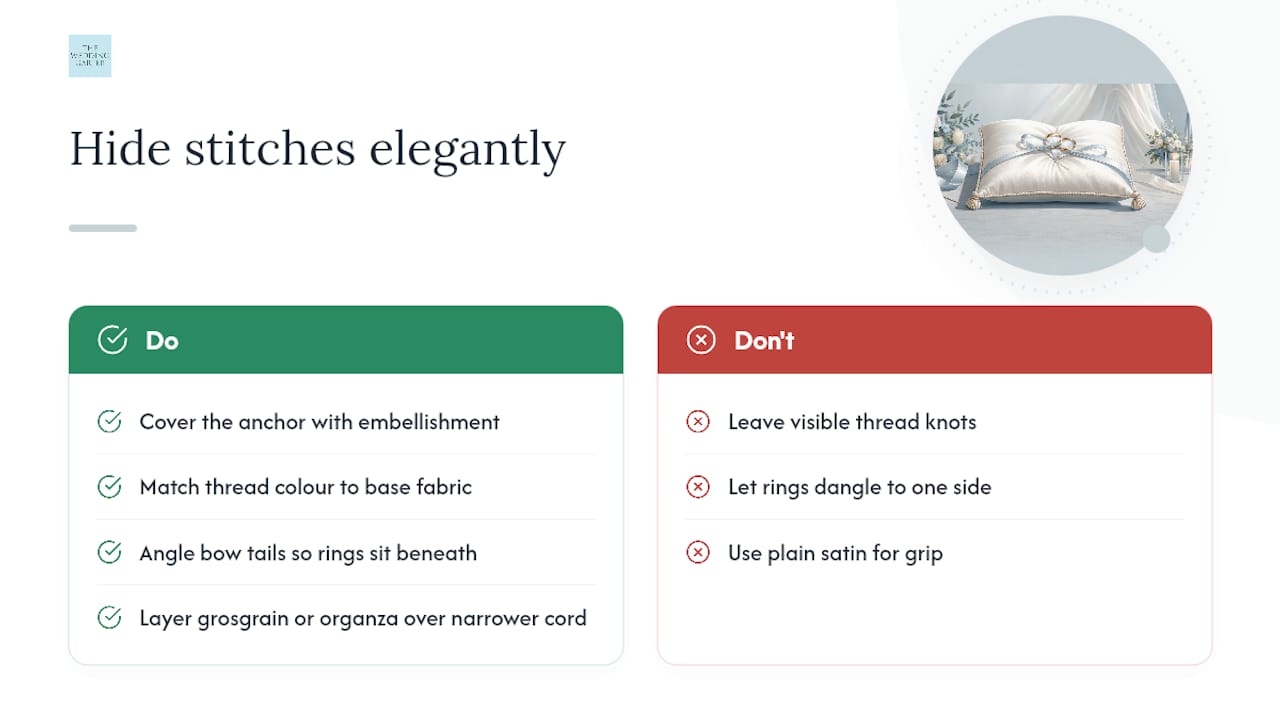
Nobody wants visible thread knots in their ceremony photos. The fix is straightforward: cover the anchor point, not avoid it.
A small decorative button, a fabric flower, or a vintage-style brooch sewn directly over your stitch cluster hides the working part of the attachment completely while adding a bit of texture to the pillow’s centre. Match your thread colour to the base fabric so any visible stitching disappears into the weave, and angle the bow tails so the rings sit just beneath the embellishment rather than dangling awkwardly to one side.
For material choices that still give you grip, matte grosgrain ribbon or organza layered over a slightly narrower cord both look refined while offering more friction than plain satin. If you want inspiration for concealment styles that pair well with different pillow shapes, our guide to ring bearer pillow ideas has several worth borrowing.
Preparing the ring bearer to carry the pillow safely
A secure ring attachment means little if the pillow itself gets dropped, tilted, or gripped the wrong way. Give your ring bearer something practical to hold.
- Stitch an underside hand strap. A ribbon strip roughly 2 inches (5 cm) wide, stitched in a simple loop to the pillow’s underside, gives small hands something steady to grip, a detail wikiHow’s pillow-making guide also calls out as standard practice.
- Rehearse the walk twice, with an adult attendant standing close by both times, so the child gets comfortable with the pillow’s weight and balance before the real thing.
- Practise the ring handover itself, not just the walk, so nobody freezes when it’s time to actually detach the rings.
Pro Tip: Pack a tiny spare ring box in the bridal party’s emergency kit. If a knot won’t budge or a ring bearer panics, swapping to the spare box takes ten seconds and nobody in the pews will notice.
Testing your attachment before the ceremony
Run this checklist the day before, or at your final dress rehearsal, never earlier. Attaching rings too soon just means more handling time for a knot to loosen or ribbon to fray.
- Tug test: pull the ribbon firmly to confirm the stitching holds under real pressure
- Tilt test: angle the pillow the way it’ll be carried, to check rings don’t slide free early
- Practice removal: have whoever will remove the rings on the day actually untie the knot once
- Check singed ends: make sure they’re smooth, not sharp or crumbly
- Confirm a clean release: the bow should come apart with one gentle pull, not a fight
Pack backups regardless of how confident your knot feels: spare ribbon, a threaded needle, a couple of safety pins, and that spare ring box mentioned earlier.
Fixing common ring pillow problems
Most issues have a five-minute fix if you catch them early.
- Slippery ribbon: hide a narrow cord underneath the visible ribbon, or add a small dab of fabric glue beneath the knot for grip.
- Fraying ends: singe carefully or dab clear nail polish on the trimmed edge. Never let the flame touch the main ribbon fused to the pillow itself.
- A knot that won’t budge: work it loose gently from the loop’s outer edge rather than pulling straight down. If it still won’t shift, switch to the spare ring box rather than risk a scene.
Pro Tip: Test your exact knot style on a spare ribbon scrap the week before. A knot that feels secure in your hands might behave completely differently for a nervous ten-year-old.
Ring pillows and accessories from The Wedding Garter
If you’d rather start from a pillow already built for secure attachment than retrofit an existing one, a few of our designs are worth a look.
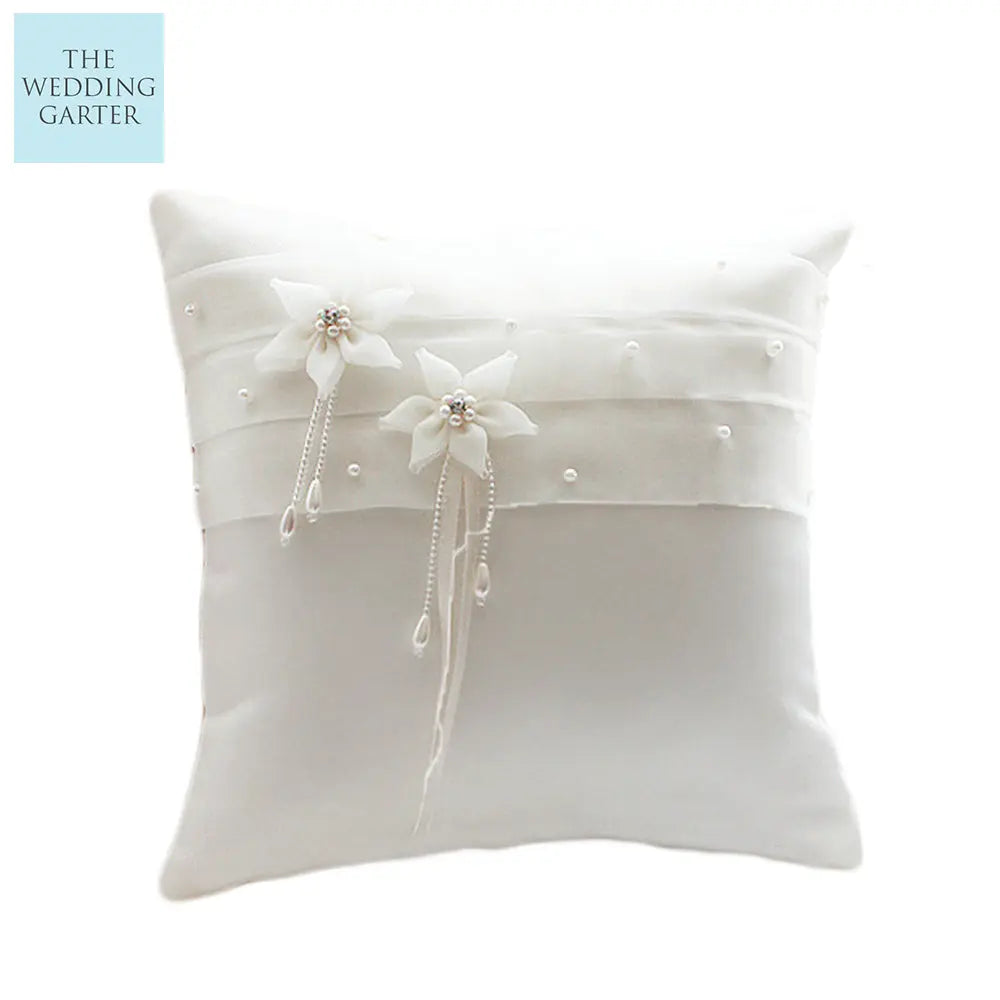
- The Chic Ivory Satin Appliqué Ring Pillow has a decorative centre motif that naturally conceals a stitched ribbon anchor, so the stitch-and-tie method sits invisibly beneath the applique.
- The Ivory Satin & Lace Rhinestone Wedding Ring Pillow pairs a textured lace surface with a rhinestone centrepiece, giving both grip and a natural hiding spot for your knot.
Unsure what size or shape suits your ceremony style? Our ring bearer pillow size guide and buying guide both cover proportions that work well with either the stitched ribbon or loop-and-knot approach. And if you want ideas for coordinating the pillow’s finish with your broader ring presentation, GothMarket’s piece on ring stacking ideas has some genuinely useful visual notes on how rings sit and catch light once tied down.
A quick note on priorities
We hear a lot of brides ask for the prettiest pillow first and the practical detail second. Get the order right: a stitched, tested anchor point should always come before you choose ribbon colour or embellishment style. The Wedding Garter Australia builds every ring pillow with that hierarchy in mind, because a beautiful pillow that drops a ring mid-ceremony isn’t beautiful for long.
Get your ceremony-ready pillow sorted before the big day
The Wedding Garter Australia gives you a pillow built around the same stitch-first logic covered above, rather than a plain cushion you have to modify yourself under time pressure. That means less last-minute sewing and more certainty the rings will still be there when the celebrant asks for them.

Beyond the pillow itself, a handful of matching accessories round out the ceremony look. Pair your pillow with a Vintage Art Deco Style Bridal Jewellery Set or a Delicate Crystal Luxury Bridal Hair Clip for a coordinated bridal party aesthetic, and if you need a decorative brooch-style embellishment to conceal your ribbon anchor, get in touch about customisation options. Browse the full ring pillow and accessories range and get yours sorted with time to spare for a proper rehearsal.
Sources
- How to sew a ring bearer pillow |10 easy steps (2026)
- wikiHow — Make a ring pillow
- Attaching rings: ring bearer pillow | ShunBridal
- How to tie rings on to ring pillows — SG Wedding Favors blog
FAQ
What’s the best way to attach rings to a pillow?
Stitch narrow ribbon (18–24 inches) to the pillow’s centre with hidden stitches, thread each ring onto the ribbon tails, then tie a secure, releasable bow.
How early should I attach the rings to the pillow?
Attach them at the final dress rehearsal or immediately before the ceremony, since earlier handling increases the risk of a loosened knot or frayed ribbon.
Can I use Velcro instead of ribbon?
Yes, Velcro works for a quick-release option, but it needs to be glued firmly and the person removing the rings must be briefed beforehand, since it lacks the intuitive pull-and-untie logic of a ribbon bow.
How do I stop the ribbon from slipping?
Add a hidden matte cord beneath a glossy satin ribbon for extra friction, or place a small dab of fabric glue beneath the knot.
Do The Wedding Garter’s ring pillows already have an attachment point built in?
Yes, several designs, including the Chic Ivory Satin Appliqué Ring Pillow, are built with a decorative centre that conceals a stitched ribbon anchor, so you can follow the same stitch-and-tie method without starting from scratch.
Recommended
- The Ultimate Ring Bearer Pillow Buying Guide: Find the Perfect One for – The Wedding Garter
- Ring bearer pillow size: what couples need to know – The Wedding Garter
- 15 ring bearer pillow ideas for your Australian wedding – The Wedding Garter
- Chic Ivory Satin Appliqué Ring Pillow For Brides Ring Bearer Pillow - – The Wedding Garter


Leave a comment