

Garter materials: the complete DIY and bridal guide
For most DIY and bridal garters, the reliable baseline is simple: soft knitted stretch elastic in a 1/2" to 3/4" width, a satin or stretch-lace outer layer, and metal garter clips with adjustable sliders. That combination holds securely, sits flat under a fitted dress, and is forgiving enough for first-time sewists to assemble in under an hour.
Before you cut anything, measure your thigh at the widest point you want the garter to sit. The elastic should feel comfortably snug when you hold it around your thigh with a finger’s width of ease. Too tight and it will roll; too loose and it will slip.
Your starter shopping list:
- Knitted or woven stretch elastic, 1/2" to 3/4" wide
- Satin fabric or pre-made stretch lace trim
- Metal garter clips (slot width to match your elastic)
- Adjustable sliders, same width as your elastic
- Matching polyester thread
- Sharp fabric scissors or a rotary cutter
- Measuring tape and a safety pin (for threading elastic through a casing)
Quick fit rule: Cut your elastic roughly 2"–3" shorter than your thigh measurement, then test the loop around your thigh before sewing. It should stay put when you walk but leave no red mark when removed.
Key takeaways
The most reliable garter uses 1/2" knitted stretch elastic, a satin or stretch-lace outer layer, and metal garter clips sized to match the elastic width.
| Point | Details |
|---|---|
| Elastic width and type | Use 1/2"–3/4" knitted stretch elastic for comfort and secure hold under a fitted dress. |
| Cutting for fit | Cut elastic 2"–3" shorter than your thigh measurement for a snug, non-slip fit. |
| Hardware matching | Match clip and slider slot width exactly to your elastic width to prevent twisting and weak grip. |
| Fabric choice | Satin suits bridal keepsakes; breathable powernet or cotton-lined elastic suits everyday wear. |
| The Wedding Garter Australia | Offers ready-made garters in satin and stretch lace with custom sizing available for brides. |
Table of Contents
- What garter materials do you need before you start sewing?
- How do you choose the right elastic for a garter?
- Which fabric and trim work best for a garter?
- What hardware do you need for a functional garter?
- How do you make a simple elastic garter?
- How do you test fit and care for a garter?
- What does The Wedding Garter Australia recommend?
- A maker’s note on material choices
- Ready-made bridal garters from The Wedding Garter Australia
- Sources
- FAQ
What garter materials do you need before you start sewing?
A basic garter costs very little to make. DIY tutorials confirm that materials for a simple build run to just a few dollars, with embellishments being the main cost driver. The table below covers every supply you are likely to need, with notes on what is non-negotiable versus purely decorative.
| Supply | Spec / Options | Essential or Optional |
|---|---|---|
| Stretch elastic | Knitted or woven, 1/2"–3/4" wide | Essential |
| Outer fabric | Bridal satin, stretch lace, tulle, ribbon | Essential (choose one) |
| Metal garter clips | 1/2" slot width to match strap | Essential for strap styles |
| Adjustable sliders | 1/2" width, metal preferred | Essential for strap styles |
| Polyester thread | Colour-matched to fabric | Essential |
| Sewing needle or machine | Stretch needle for knit fabrics | Essential |
| Measuring tape | Standard flexible tape | Essential |
| Safety pin | For threading elastic through casing | Essential |
| Pre-decorated garter elastic | Daisy-style elastic combining lace and stretch | Optional (speeds build) |
| Rhinestone or ribbon trim | Flat trims, 1/4"–1/2" wide | Optional |
| Lining fabric | Soft cotton or powernet | Optional (adds comfort) |
| Fabric glue | Temporary hold during construction | Optional |
For a bridal keepsake garter, bridal satin gives the cleanest finish and photographs beautifully. For everyday wear, a cotton-lined elastic band or powernet outer layer breathes better and holds up to repeated washing. If budget is tight, a single length of pre-decorated garter elastic does the job of both elastic and trim in one purchase.
How do you choose the right elastic for a garter?
Elastic is the structural heart of any garter. Get it wrong and the garter either cuts into the thigh or slides down within minutes. Most garters use woven or knitted stretch elastic as the primary strap material, and the width and finish both affect comfort and visual profile.
Elastic types compared:
- Knitted stretch elastic: Soft, flexible, and comfortable against skin. It narrows slightly when stretched, which reduces bulk. Best choice for most DIY garters.
- Woven elastic: Firmer and holds its width under tension. Formal styles often use narrow satin-finished woven elastic for a polished look. Slightly less comfortable for all-day wear.
- Fold-over elastic (FOE): A thin, foldable strip that wraps around itself to encase a raw edge. Works well as a neat finish on lightweight garters but provides less support than knitted elastic on its own.
Width recommendations:
- 1/2" elastic: The most common choice for bridal and fashion garters. Discreet under clothing, easy to encase in lace or satin.
- 3/4" elastic: Better for everyday wear or when you need more thigh coverage and stability. Slightly more visible under sheer fabrics.
Sizing formula: Measure your thigh circumference, then cut your elastic 2"–3" shorter than that measurement. For a thigh measuring 20", cut elastic to approximately 17"–18". This accounts for the natural stretch and recovery of the elastic once sewn into a loop.
Testing stretch ratio before sewing: Pull a 10 cm length of elastic to its full comfortable stretch. It should reach at least 15 cm without feeling strained. If it barely moves, it will be too rigid on the thigh. If it stretches past 20 cm with no resistance, it will not hold.
When matching elastic to clips and sliders, the elastic width must equal the slot width of the hardware. A 1/2" elastic needs 1/2" clips and sliders. Forcing a wider elastic through a narrower slot creates bunching and weakens the attachment point over time.
Pro Tip: Buy 10–15 cm of extra elastic before cutting your final length. Use the offcut to test your stitch tension and stretch recovery on your machine before committing to the full piece.
Which fabric and trim work best for a garter?
The outer layer is what people see, so the choice matters for aesthetics. But it also affects how the garter sits under a dress, how easy it is to sew, and how comfortable it feels after a few hours of wear.
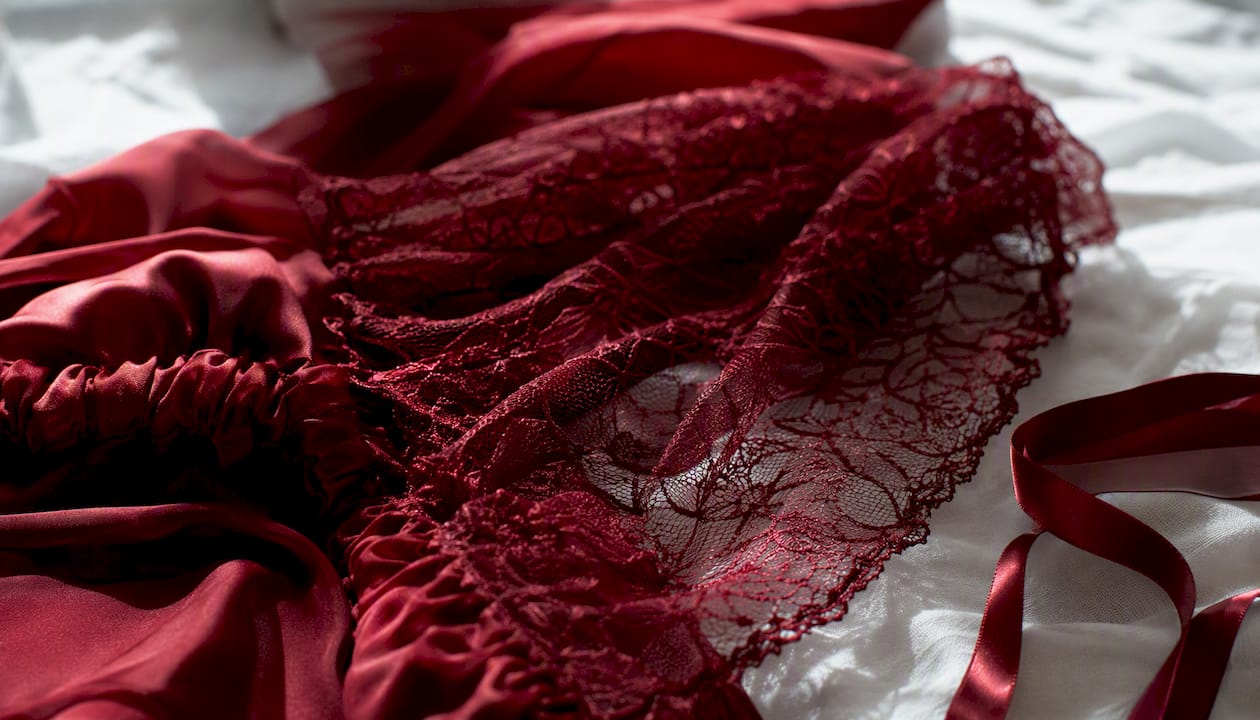
Common garter materials include lace, satin, and elastic blends, with each offering a different balance of comfort and appearance. Here is how the main options compare:
Satin: Smooth, lustrous, and the most popular choice for bridal garters. It photographs well, comes in dozens of colours, and sits flat under fitted dresses. The trade-off is that it does not breathe particularly well, so it is better suited to a few hours of wear than a full day.
Stretch lace: The classic bridal trim. It stretches with the elastic underneath, which means no puckering or pulling. Stretch lace is also forgiving to sew because it does not fray. For a fitted dress, a nude or ivory stretch lace garter disappears under the fabric.
Tulle: Light and airy, tulle works well as a layered overlay over satin or lace for a voluminous bridal look. It adds bulk, so avoid it under a very fitted skirt. Tulle frays at cut edges and needs a rolled hem or overlocking to stay neat.
Ribbon: A quick, low-sew option. Grosgrain or satin ribbon threaded through a casing over the elastic gives a clean finish with minimal construction. Not as stretchy as lace, so leave a little more ease in the elastic length.
Sewing notes: When attaching delicate lace to elastic, use a narrow zigzag stitch rather than a straight stitch so the seam stretches with the elastic. If the lace trim is very sheer, back it with a strip of soft powernet or cotton to prevent the elastic from showing through. For colour matching, take a swatch of your dress fabric to the fabric store rather than relying on screen colours.
Heavier embellishments, such as beaded appliqués or thick ribbon bows, add bulk at the attachment point. Under a fitted dress, that bulk can create a visible ridge. Keep decorative trims flat and centred on the front of the garter where they sit on the outer thigh.
What hardware do you need for a functional garter?
Hardware is where many DIY garters fail. The clips and sliders carry the mechanical load, and choosing the wrong spec means the garter either slips or damages hosiery.
Essential hardware:
- Metal garter clips: The clip attaches to the stocking welt and holds it up. Metal clips hold stockings more securely than plastic, and they last far longer. Look for clips with a rubber or silicone grip pad rather than metal teeth. Toothed metal clips can snag and ladder fine hosiery.
- Adjustable sliders: These allow the strap length to be shortened or lengthened after the garter is made. Standard slot width is 1/2" for most garter straps. Use metal sliders rather than plastic for longevity.
- Small D-rings or O-rings: Used in some strap-style garter belt constructions to anchor the strap at the waistband end. Match the ring width to the strap width.
Hardware specification note: For a 1/2" elastic strap, you need 1/2" clips and 1/2" sliders. For a 3/4" strap, move up to 3/4" hardware across the board. Mixing widths causes the strap to twist inside the slider and the clip to sit at an angle, which reduces grip.
Decorative additions: Flat rhinestone trims, small satin bows, and pearl clusters all work well as centrepiece embellishments. Keep them under 2 cm in height so they sit flat under clothing. Avoid heavy beaded appliqués on the strap itself, as the weight pulls the clip out of alignment during wear.
How do you make a simple elastic garter?
A basic garter takes about 30 minutes once you have your materials ready. These steps produce a durable, comfortable band suitable for bridal or everyday wear.
- Measure your thigh at the point where the garter will sit. Write the measurement down.
- Calculate elastic length: Subtract 2"–3" from your thigh measurement. For a 20" thigh, cut elastic to 17"–18".
- Cut your outer fabric or lace trim to the same length as your thigh measurement (not the elastic). This gives you enough fabric to gather slightly over the shorter elastic.
- Attach the lace or fabric to the elastic: Pin the trim along the top edge of the elastic. Using a zigzag stitch at medium width, sew the trim to the elastic, stretching the elastic gently as you sew so the fabric gathers evenly. Alternatively, fold the fabric into a casing around the elastic and topstitch along both edges.
- Join the elastic into a loop: Overlap the elastic ends by approximately 1/2"–3/4". Stitch a box-X pattern (a rectangle with an X through it) across the overlap for maximum strength. Join the fabric ends with a flat seam or fold and slip-stitch for a neat finish.
- Add trims: Sew any bows, rhinestone pieces, or ribbon accents to the front centre of the garter now, before attaching clips.
- Attach clips (for strap-style garters): Fold the strap end through the clip’s bar and stitch back on itself twice. Run a second line of stitching 3–4 mm from the first for reinforcement. The clip should sit flat and swing freely.
- Thread sliders onto the strap before attaching the second clip, so the strap length is adjustable once worn.
Common mistakes to avoid: Do not cut the elastic to the exact thigh measurement. It will feel loose immediately and slide down within minutes. Uneven gathers usually mean the elastic was not stretched consistently while sewing. If the clip tears away from the fabric, the stitching was placed too close to the fold edge. Always stitch at least 1 cm from the raw edge and reinforce with a second pass.
How do you test fit and care for a garter?
Once sewn, the garter needs a real-world test before the wedding day or first wear.
Fit tests to run:
- Sit down and stand up twice. The garter should not roll or dig into the thigh.
- Walk across the room. It should stay in place without sliding.
- Bend forward. If it cuts in sharply at the back of the thigh, the elastic is too short.
- If it drops below the knee during the walk test, the elastic is too long.
Care for lace and elastic:
- Hand wash in cool water with a gentle detergent. Machine washing, even on a delicate cycle, degrades elastic faster than hand washing.
- Never wring or twist. Press gently in a towel and air dry flat.
- Avoid bleach entirely on lace and coloured satin. It yellows white lace and weakens elastic fibres.
- Low heat is safe for a light press on satin, but never iron directly over elastic or rhinestone trims.
When to replace elastic: Elastic that has lost its recovery (it stretches but does not spring back) needs replacing. This typically happens after repeated washing or prolonged storage under tension. Snipping the old elastic out and threading new elastic through an existing casing takes about ten minutes.
Pro Tip: Store garters flat in a small fabric pouch or tissue paper rather than folded. Folding elastic at the same point repeatedly creates a permanent crease that weakens the fibres over time. Rhinestone trims stored loose in a drawer scratch against each other and lose their finish.
For a full guide to keeping a garter secure through the day, the non-slip wedding garter guide from The Wedding Garter Australia covers fit adjustments and design choices for fitted dresses in detail.
What does The Wedding Garter Australia recommend?
The Wedding Garter Australia builds its bridal garters around soft knitted stretch elastic, stretch lace overlays, and satin accents, because that combination holds comfortably for a full wedding day without leaving marks. The products below reflect the same material logic covered in this guide, each suited to a different bridal style.
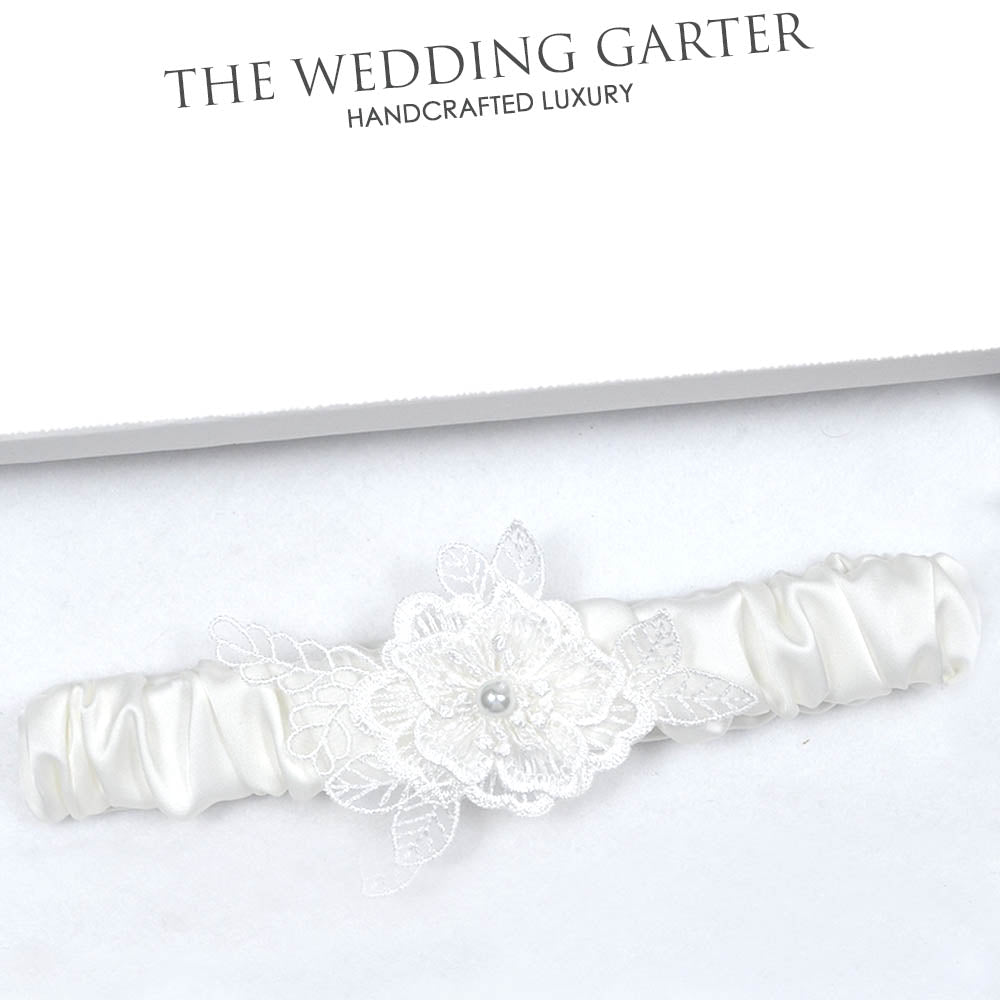
| Product | Best for | Elastic and trim | Durability |
|---|---|---|---|
| Satin Bridal Garter With Floral Design | Classic bridal look, 18 colour options | Soft elastic, satin overlay with floral detail | High — satin holds shape well |
| Vintage Ivory Lace & Satin Bridal Garter | Vintage or heritage-themed weddings | Stretch elastic, ivory lace and satin combination | High — lace backed for durability |
| Greta Ivory Satin & Lace Wedding Garter Set | Brides wanting a matched set in 3 colours | Soft elastic, satin and lace layered trim | High — set construction for even tension |
| White Stretch Lace Wedding Garter | Fitted dresses where bulk must be minimal | Stretch lace over knitted elastic | High — stretch lace moves with the body |
| Pricilla Stretch Lace Wedding Garter Set | Brides wanting a keepsake and toss set | Stretch lace, soft elastic, decorative trim | High — designed for extended wear |
For readers building their own garter, pre-decorated daisy garter elastic is worth considering as a single-purchase solution that combines the elastic and lace trim in one strip, saving both time and alignment effort.
The ultimate wedding garters buying guide from The Wedding Garter Australia goes deeper on elastic types and style options for brides who want to compare ready-made designs before deciding whether to sew or buy.
A maker’s note on material choices
The question we hear most often is not “which fabric?” but “will it stay up?” Elastic choice answers that question before anything else. A beautiful lace overlay on poorly chosen elastic is a garter that spends the reception on the floor.
The brands and tutorials that focus purely on aesthetics often skip the tension test entirely. At The Wedding Garter Australia, the elastic is always tested for recovery before it goes into a finished piece. A strip that stretches freely but snaps back firmly is the baseline. Everything decorative is chosen to work with that elastic, not despite it.
For brides who are uncertain about sizing, custom requests are straightforward. Thigh measurement plus the style preference is all that is needed. The elastic is cut and tested to that measurement, so the fit is built in rather than adjusted after the fact.
Ready-made bridal garters from The Wedding Garter Australia
Choosing the right garter materials takes time, and not every bride wants to spend a Saturday afternoon at a sewing machine. The Wedding Garter Australia offers a full range of ready-made bridal garters built from the same soft elastic, stretch lace, and satin combinations covered in this guide, with sizing options to suit a range of thigh measurements.
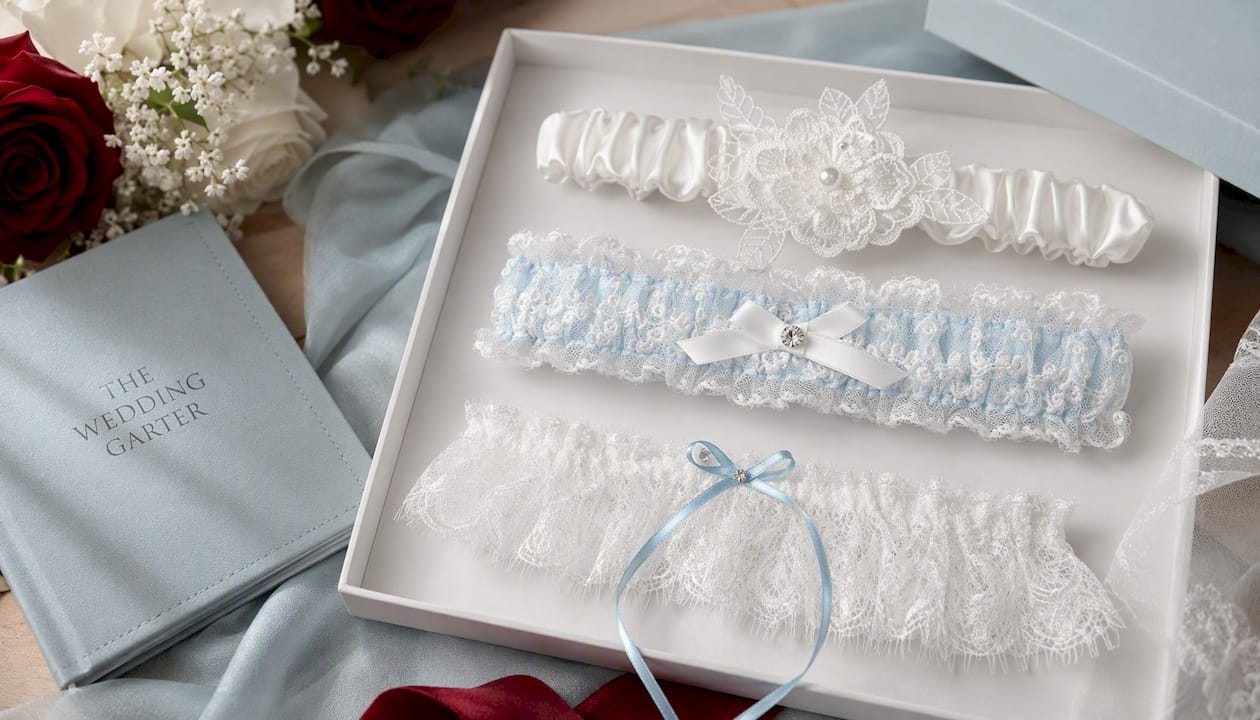
The Satin Bridal Garter With Floral Design is available in 18 colours and is one of the most popular choices for brides who want a classic finish without the DIY. For a vintage look, the Vintage Ivory Lace & Satin Bridal Garter pairs beautifully with heritage-themed weddings. Brides building a coordinated bridal look can also browse the Delicate Crystal Luxury Bridal Bracelet, the Vintage Art Deco Style Bridal Jewellery Set, and the Romantic Lace Underwire Bridal Bustier to complete the look.
Custom sizing is available. Browse the full collection at The Wedding Garter Australia and contact the team directly for a custom fit request.
Sources
Product suppliers:
- wikiHow — 3 ways to select a garter belt
- Seam-up — What is a garter for: a comprehensive guide
- Holdup – Suspender vs garter: key differences
- Duct Tape and Denim — How to make a garter: two easy wedding garters
- Daisy Garter Elastic – Cream AB
How-to references:
FAQ
What holds stockings up on a garter?
Metal garter clips attach to the welt (the reinforced top band) of a stocking and hold it taut. The clip slides over the welt and a rubber or silicone pad grips it securely without damaging the fabric.
What were garters originally made for?
Garters were designed to hold up stockings before elastic waistbands existed. A band around the thigh or below the knee kept the stocking from sliding down during the day.
How do you make a DIY bridal garter?
Measure your thigh, cut 1/2" knitted elastic 2"–3" shorter than that measurement, attach stretch lace or satin trim with a zigzag stitch, then join the ends into a loop with a reinforced box-X stitch. The full step-by-step is in the construction section above.
What is the best elastic width for a wedding garter?
1/2" knitted stretch elastic is the most common choice for bridal garters. It sits discreetly under a fitted dress, is easy to encase in lace, and provides enough tension to stay in place without digging in.
Can you buy a ready-made garter instead of sewing one?
Yes. The Wedding Garter Australia offers a range of ready-made bridal garters in satin and stretch lace, including the Satin Bridal Garter With Floral Design and the Bridal Garter With White Lace Applique Design, with custom sizing available on request.
Recommended
- The Ultimate Wedding Night Lingerie Guide: Choosing Your Perfect – The Wedding Garter
- Ultimate Wedding Garters Buying Guide for Your Dream Day in 2026 - – The Wedding Garter
- What is the Meaning of a Wedding Garter? A Bride’s Guide to This Sweet – The Wedding Garter
- What Leg Does a Bride Wear Her Garter On? The Ultimate Sweet & Simple – The Wedding Garter


Leave a comment